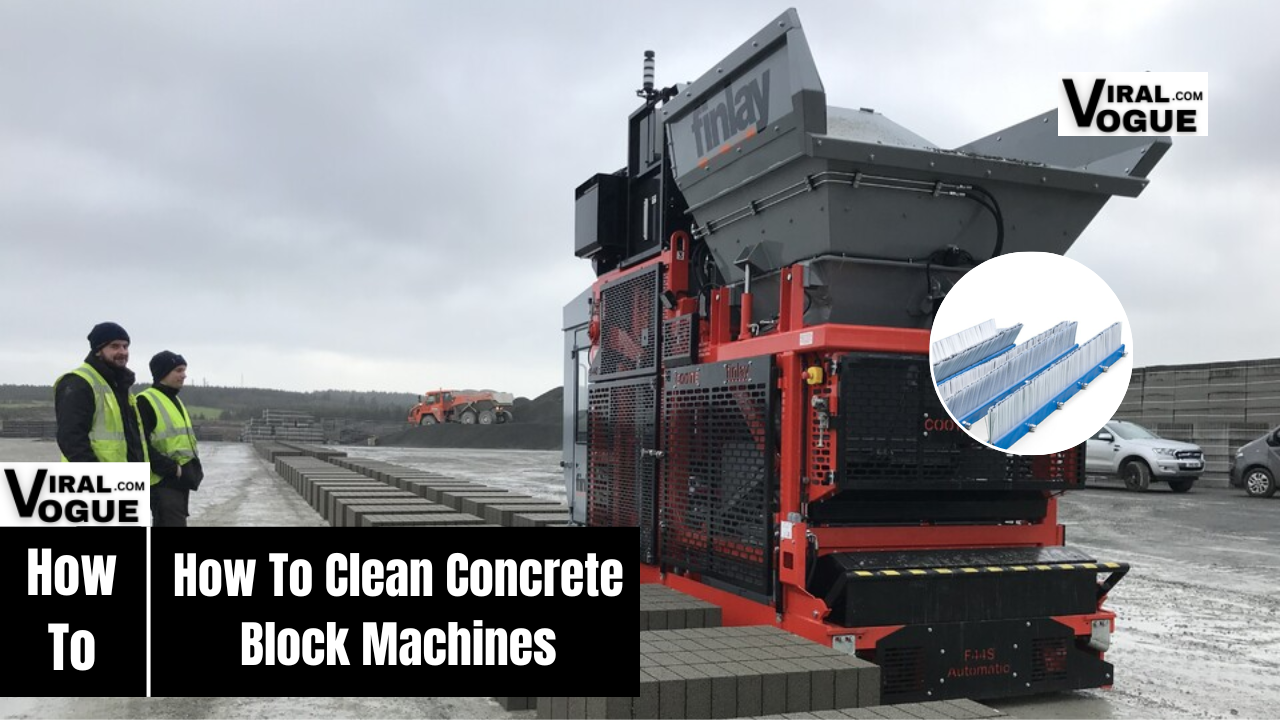
As a professional concrete block machine expert, I’ll walk you through every step of cleaning your machine thoroughly. This tutorial is designed to feel like a hands-on workshop—follow along carefully to ensure your machine stays in top shape, produces flawless blocks, and avoids costly downtime. Let’s get started!
How to Clean Concrete Block Machines? Let’s Get Start
Gather Your Supplies
Before touching the machine, assemble these tools and materials:
- Safety Gear: Heavy-duty gloves, safety goggles, and a respirator mask (concrete dust is harmful to inhale).
- Cleaning Tools: Stiff nylon brushes, plastic scrapers (metal can scratch surfaces), a vacuum with a HEPA filter, compressed air gun, and a pressure washer (for stubborn buildup).
- Cleaning Solutions: Warm water mixed with biodegradable detergent, white vinegar (for dissolving cement), or a commercial concrete dissolver.
- Lubricants: High-quality silicone spray or food-grade grease for lubricating moving parts.
- Towels and Cloths: Absorbent, lint-free rags for drying components.
Step 1: Power Down and Prepare the Machine
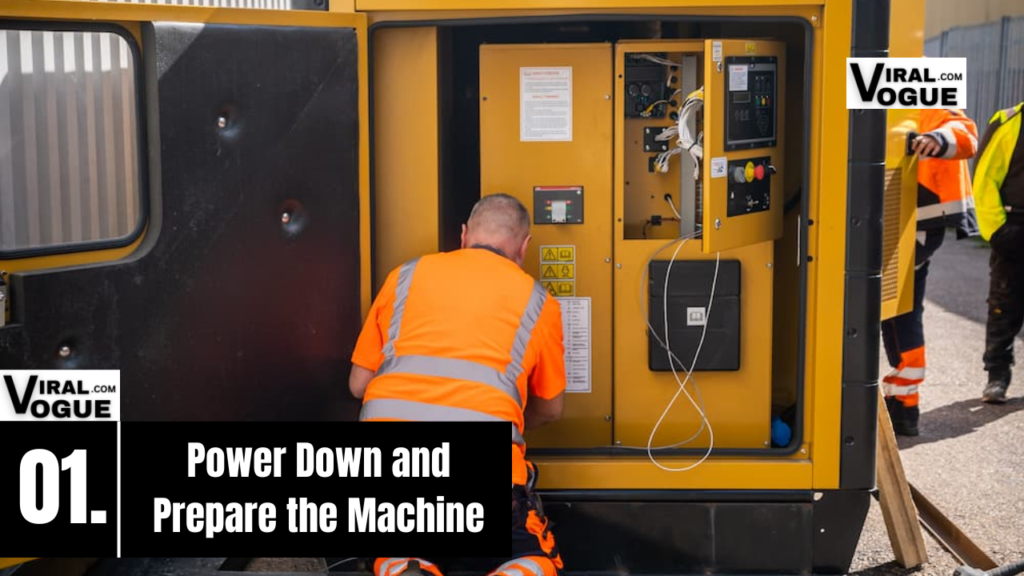
Safety is your first priority. Turn off the machine completely and unplug it from the power source. If it uses hydraulics or pneumatics, depressurize the system according to the manufacturer’s instructions. Let the machine cool for at least 30 minutes if it’s been running—hot surfaces can cause burns or react unpredictably with cleaning agents.
Suggested For You: How to Get Rid of Cupping Marks Fast? 08 Ways To Get Red OF Cupping Marks
Step 2: Remove Loose Debris
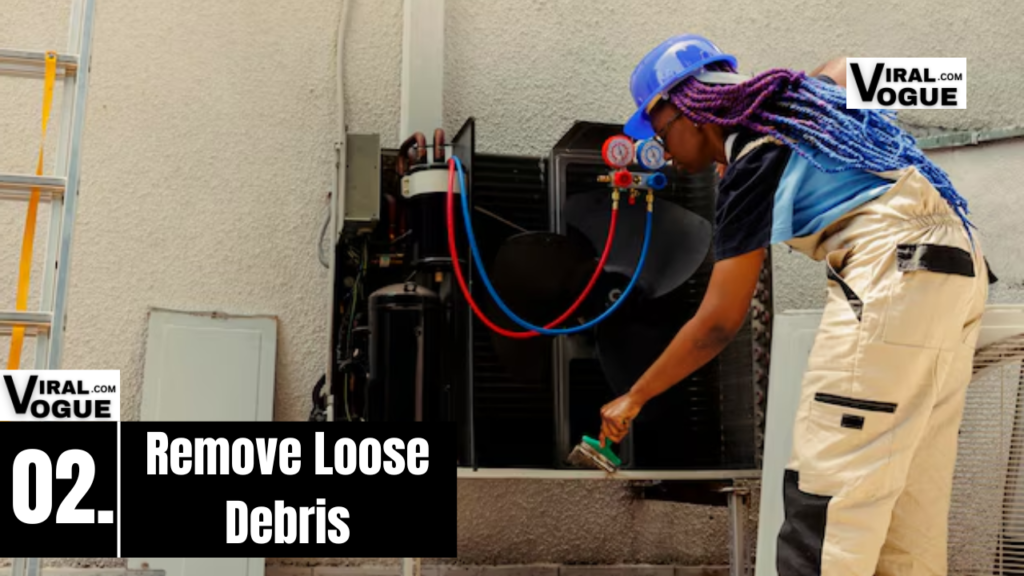
Start by clearing surface-level dirt. Use your vacuum or compressed air gun to blast away loose dust and concrete particles from:
- Hoppers: Focus on corners where material tends to stick.
- Molds: Pay attention to crevices in the mold cavities.
- Conveyor Belts: Brush off dried concrete flakes.
- Mixer Chamber: Vacuum residual mix to prevent hardening.
If debris is caked on, gently scrape it off with a plastic scraper. Never use metal tools—they can gouge the machine’s surfaces, creating pockets for future buildup.
Step 3: Deep Clean Molds and Mixing Components
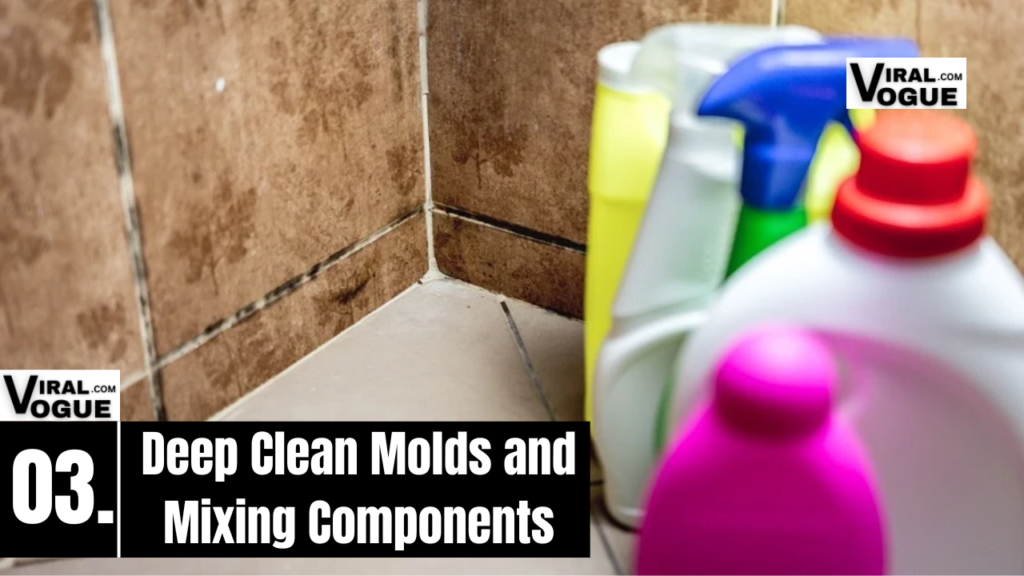
Molds are the most critical part of your machine. Here’s how to clean them like a pro:
- Soak the Molds: Spray or pour your chosen cleaning solution (vinegar, detergent mix, or commercial dissolver) onto the mold surfaces. Let it sit for 10–15 minutes to soften hardened cement.
- Scrub Methodically: Use a stiff nylon brush to scrub every cavity, edge, and corner. For intricate designs, a smaller brush or even an old toothbrush works wonders. Apply firm pressure to dislodge stubborn residue.
- Rinse Thoroughly: Hose down the molds with clean water. If using a pressure washer, keep the nozzle 12–18 inches away to avoid damaging seals or coatings.
- Dry Completely: Wipe molds with a dry cloth or let them air-dry. Moisture left in molds can rust the metal or create voids in your next batch of blocks.
Repeat this process for the mixer blades, hopper interior, and vibrator plates. These areas are prone to buildup that can throw off the machine’s balance or mixing ratios.
Step 4: Clean Hydraulic Systems and Hoses
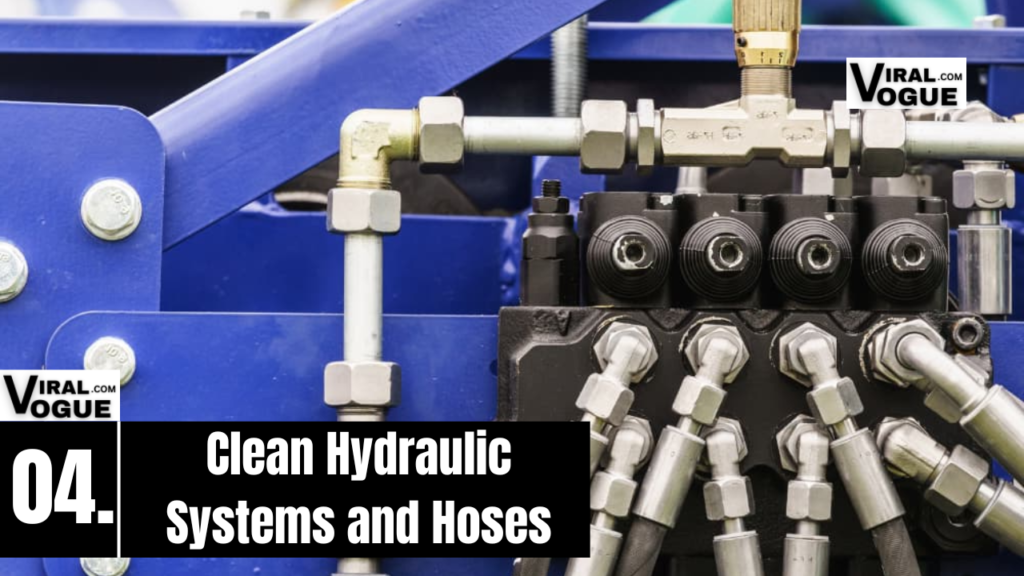
Hydraulic systems are the lifeline of your machine. Oil and grime on hoses or valves can lead to leaks or malfunctions.
- Wipe Down Hoses: Dip a cloth in a mild solvent (like isopropyl alcohol) and scrub the exterior of hoses, connectors, and valves. Avoid harsh chemicals—they can degrade rubber or plastic parts.
- Inspect for Damage: Look for cracks, fraying, or oil leaks. Replace damaged hoses immediately—a burst hose during operation is dangerous.
- Clean Hydraulic Filters: If your machine has reusable filters, rinse them with solvent and let them dry before reinstalling.
Suggested: How To Relieve Pain After Teeth Cleaning: A Detailed Guide
Step 5: Lubricate Moving Parts
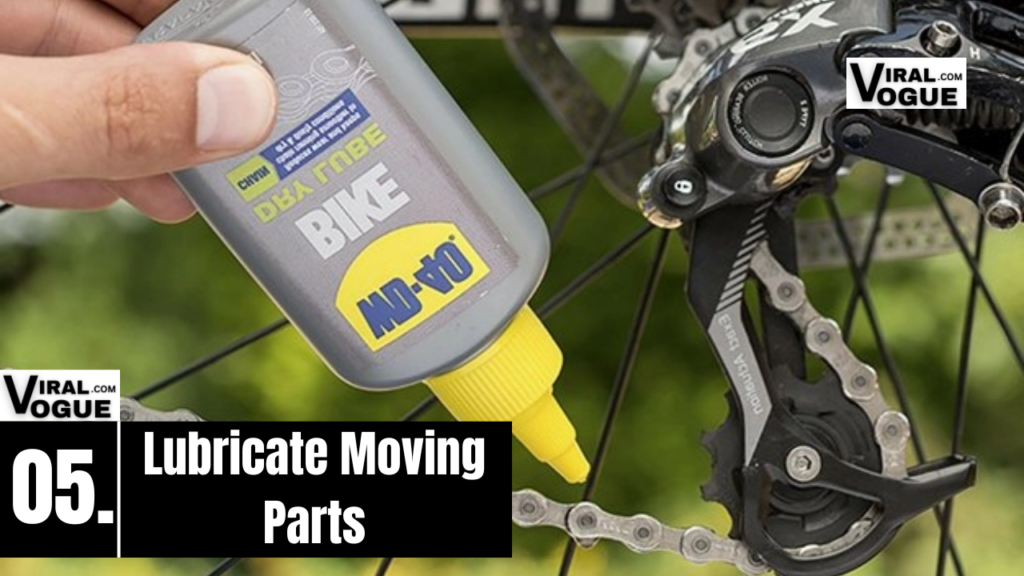
Lubrication prevents friction and wear. After cleaning, apply lubricant to:
- Mold Guides and Rollers: These ensure smooth movement during block ejection.
- Piston Rods: Wipe off old grease, then apply a thin, even layer of new grease.
- Conveyor Chains: Use silicone spray to keep them running quietly and efficiently.
Pro Tip: Less is more! Excess grease attracts dust and creates sludge. A light coating is all you need.
Step 6: Clean the Exterior and Workspace
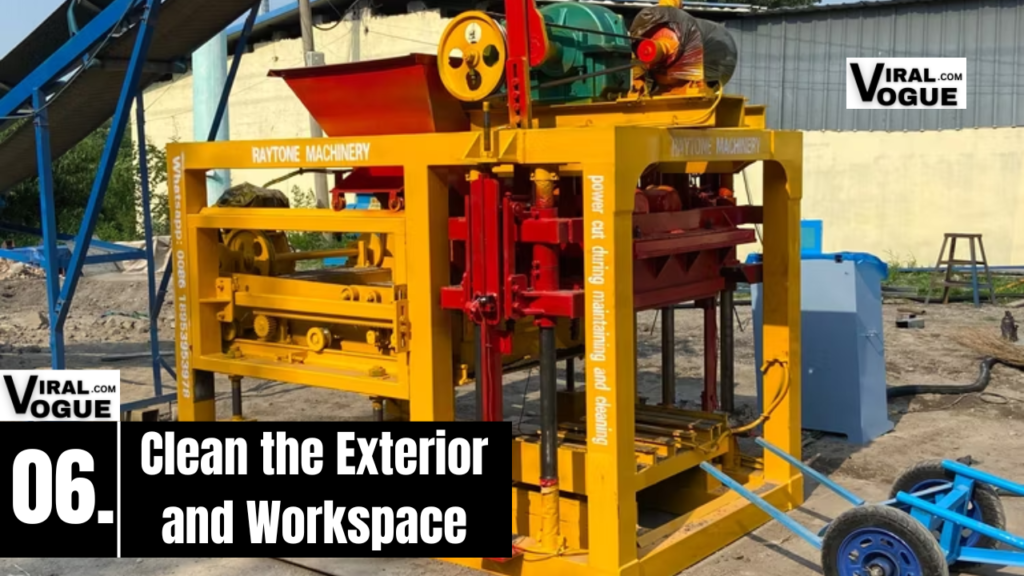
A clean machine is easier to inspect and maintain. Wipe the exterior with a damp cloth to remove dust and splatters. Sweep the surrounding floor to prevent debris from being sucked back into the machine during operation.
Step 7: Reassemble and Test Run
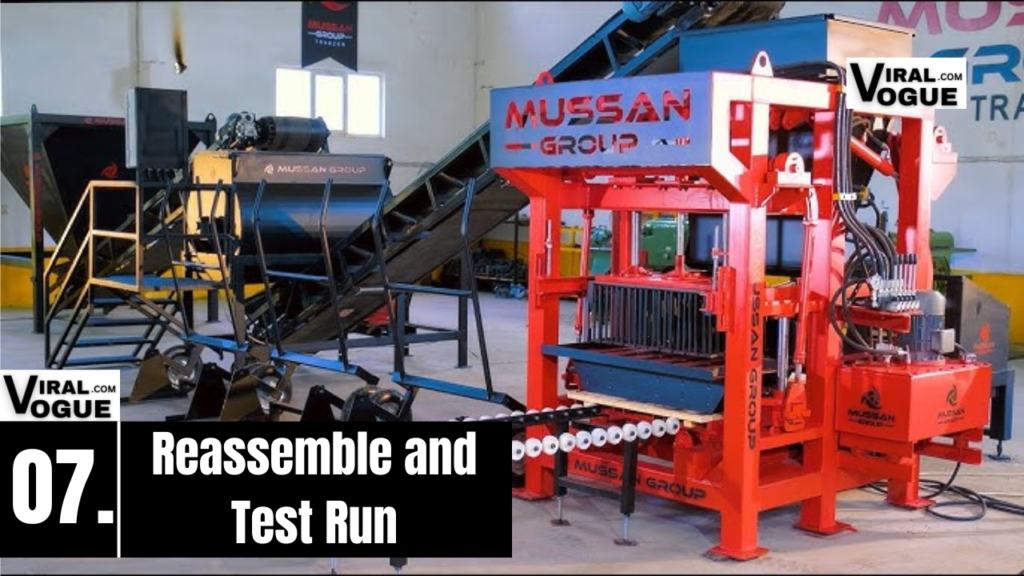
Double-check that all parts are reinstalled correctly. Ensure electrical components are dry to avoid short circuits. Power up the machine and let it run empty for 5–10 minutes. Listen for unusual noises or vibrations, which could indicate misalignment or leftover debris.
Suggested For You: How to Clean Concrete Block Machines – Video Guide
Avoid These Costly Mistakes
- Using Acidic Cleaners: Vinegar is safe in small doses, but strong acids like muriatic acid corrode metal. Stick to pH-neutral solutions.
- Skipping Drying Time: Water left in molds or mixers causes rust and weak, crumbly blocks.
- Neglecting Daily Cleanups: A 5-minute wipe-down after each shift prevents hardened cement that’s tougher to remove later.
Pro Maintenance Habits
- Daily: Quick vacuum and wipe-down of hoppers, molds, and belts.
- Weekly: Inspect hoses and lubricate moving parts.
- Monthly: Deep clean all components and replace worn brushes/scrapers.
Final Words
Cleaning your concrete block machine isn’t just a chore—it’s a strategic practice to ensure quality, efficiency, and safety. By following this tutorial, you’ll add years to your machine’s lifespan and avoid 90% of common operational issues. Bookmark this guide, share it with your team, and make cleaning a non-negotiable part of your workflow.